TIPS & TRICKS OF PHOTO EDITING
 |
| Tips & Tricks of Photo Editing |
Today I'm going to share with you my little secret on how to edit your original photos to the perfect one. Let's get started.
How to take a photo?
A photo basically can be any photo, whatever you feel like taking or want to take, it all depends on you and what you love. There's no exact way of taking a photo and for me, most of the time I just randomly, out of nowhere take photos which turns out to be better than those which I take all my time to create a setup for. As you can see, an example in the photo above, the photo on the far left at the bottom is a bit bend.
 |
| Example of a random photo |
With what to take a photo?
You can take photos with almost any simple phone you have. Most of the outdoor photo on my phone was taken by a Huawei Y7 which is less then $300 before I changed to my recent one.
For my Flatlay Photos I use my Nikon DSLR with it's kit lens. But you can still take Flatlay Photos with your phone, again the editing will have a great impact on it.
The most important part of photography is the editing process. What you expect a photo to turn out to be will never happen when you click it, it will only happen during the editing process. So, as you can see, the editing part is the crucial part.
 |
| Photo taken by my old Huawei Y7 Phone |
What Photo Editing Apps to use?
This is my favourite part as I like trying new Photo Editing Apps.
First of all I use these Apps:
- Adobe Lightroom (Free Mobile App)
- Snapseed
- PicsArt
- VSCO
- Adobe Photoshop ( Computer Version)
All these Apps will be used depending on the photos I'm editing. Sometimes some photos are simple that I use only one of the Apps above and sometimes I use at least 2-3 of them.
After a photo has been taken, the first thing I do is to jump to Adobe Lightroom and then I use Snapseed to adjust the details. The others Apps I used are just to add a bit of fun. For Adobe Photoshop I use it when I have a really dark photo, which I can't do anything about it, Adobe Photoshop save me. But the main one I use is Adobe Lightroom and Snapseed.
Adobe Lightroom
In this part, I increase the "Exposure" depending how bright or dark my photo is and add a bit of "Contrast" just to slightly let the colors pop up a bit. Then I usually keep "Highlights" down and bring up "Shadows". "White" depends on how much whiteness you want your photos to have. I usually stay around 5-10. Next is playing with Colours.
Go to the "Color" Option and choose the "Mix" Option. You'll be right here (see photo above). In this section you'll get to play with the colors until you achieve what you want.
For example, If you want your photos to be more vibrant or mellow, this is exactly where you do it. For example in my photos above you'll see I always decrease the "Saturation" to make the Green Color fade away for the plants. Again it all depends on you. I usually keep playing with the colors until I'm happy with the photo and it matches my instagram.
As you can see, I use Adobe Lightroom mostly for the Brightness and Color part of my photos. And then I used Snapseed to correct little mistakes found in the photos like Photo Bending, Removing dots and the tools I used are: Perspective, Healing and Brush.
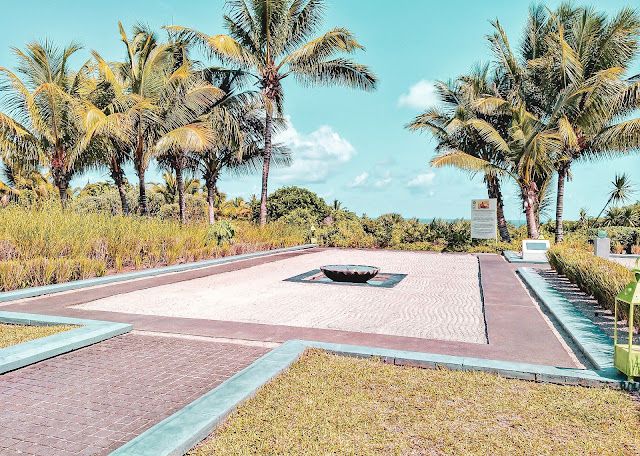
You will notice this photo is slightly more vibrant than the one above, it's only because after adjusting the colors, it gives you this result, like I said if you want to bring Saturation down, it will make the color fade and if you bring it up, it will be more vibrant.
Hope you enjoy your new editing style and don't forget to tag me in your new photo style and drop down a message for me, telling me how you find it and of course I'd be happy to answer questions if you have any. I'm also leaving below some before and after editing photos for you.
 |
| Before |
 |
| After |
 |
| Before |
 |
| After |
Enjoy!
Zana


Comments
Post a Comment